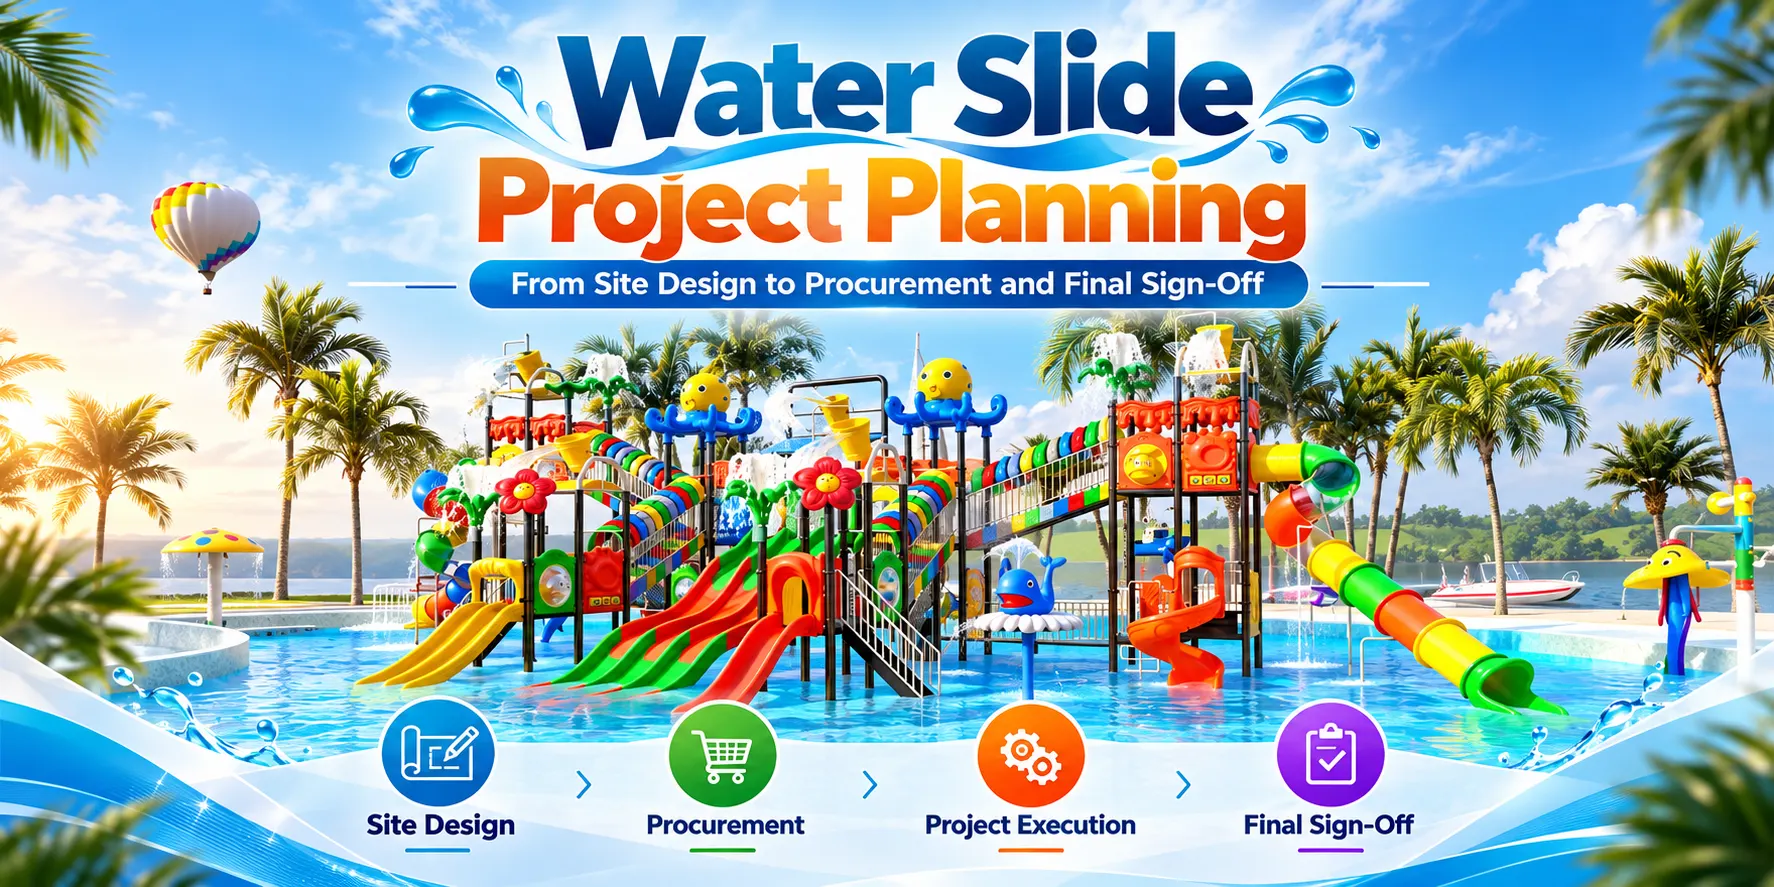
Specifying a water slide for a new playground or water play project means balancing throughput, budget, and compliance long before installation day. Municipal park teams, school planners, resort developers, and procurement managers each face the same question: what will this feature actually require? A water slide is a water play feature, permanent or temporary, that moves riders down a wetted chute into a splash zone or collection pool. This playground project guide covers project planning and sourcing, not rentals or consumer kits. The sections below compare options, size site requirements, and set out an RFQ path you can follow.
Rental Inflatables vs. Permanent Water Slide Installations: What Project Teams Should Compare
Search results for water slides are dominated by rental inflatables and consumer kits. A permanent commercial installation is procured differently, with capital budget, civils and water treatment in scope. Compare both on these criteria before you release funding.
- Upfront cost: rental is a day rate; permanent adds civils, plumbing and surfacing.
- Site preparation: rentals need level ground; permanent needs drainage and a water supply.
- Throughput: rentals suit events; permanent runs all season at higher hourly capacity.
- Compliance: rentals carry an operator safety file; permanent designs are verified against water slide standards.
- Maintenance and staffing: rentals need set-up crews; permanent needs daily water testing and trained attendants.
Start with usage pattern. An eight-week summer programme suits rental; daily footfall over ten years justifies permanent, where lifecycle cost drives the business case. Feed those figures into playground site planning early, so drainage, water supply and supervision sightlines are priced before your RFQ. The next section covers master plan fit.
Where a Water Slide Fits in a Commercial Playground Master Plan
Place the slide as a destination zone, not an add-on. A resort pool deck often needs a 4–6 m deck setback for entry and exit. A municipal park usually works better with a separate wet zone, which keeps turf recovery manageable. A school yard typically pairs a 6–8 m flume run with a splash pad on the same recirculation loop.
- Keep 2–3 m between wet zones and swings or climbers, so wet feet never cross dry fall zones.
- Face the run toward one supervision point; sightlines should cover the entry, exit and collection area.
- Size capacity by throughput: a single flume typically serves 30–60 riders per hour, with the splash pad absorbing spillover.
Route circulation so wet users leave past the drain line, not back through the dry play area.
Site, Surfacing, and Compliance Planning Before Water Play Installation
Before pricing, confirm the ground can take the load, the water, and the falls. A playground safety surfacing plan starts with these checks:
- Slope and drainage: aim for 1–2% fall away from the water slide exit into a channel drain. Ponding undermines surfacing and adds slip risk.
- Surfacing: poured-in-place rubber in the wet splash zone, artificial turf on dry edges, concrete only where wet slip resistance is documented.
- Fall height and use zones: measure critical fall height from the highest platform, then map the use zone around the exit.
- Accessibility: keep a firm route from parking to the splash deck — a frequent gap in school playground project planning.
- Water quality: confirm treatment method, turnover rate, and dosing records before installation starts.
- Documentation: request test reports naming the standard and tested height, plus CAD files and manuals.
Verify, don’t assume: reports should cite ASTM F1292 or EN 1176 parameters and match your design height. They become the technical annex to your RFQ.
Water Slide Procurement Timeline and RFQ Checklist for Buyers
Allow 16–28 weeks from budget approval to sign-off for a permanent water slide; inflatable or modular units compress this to 4–8 weeks. Sequence the work in seven phases:
- Weeks 1–3 — Budget and concept. Fix rider capacity, footprint and water source before playground budget planning is approved.
- Weeks 3–6 — RFQ development. Issue one specification pack covering the six line items below.
- Weeks 6–10 — Supplier evaluation. Score test reports, project references and production capacity data against your design loads.
- Weeks 10–14 — Delivery sequencing. Confirm shipping lots, crane access, laydown space and offload windows.
- Weeks 14–20 — Installation. Civil works, anchoring, water connection, then commissioning.
- Weeks 20–22 — Acceptance sign-off. Flow test, surfacing verification, punch list closed.
- Weeks 22–28 — Closeout. As-built drawings, O&M documentation and training records handed over.
| RFQ line item | Specify |
|---|---|
| Technical specifications | Slide type, height, flume diameter, rider capacity, materials |
| Surfacing details | Product, thickness, use zone, drainage falls |
| Water supply | Flow rate, pressure, recirculation, treatment |
| Installation labour | Scope split, plant, supervision hours |
| Training | Operator sessions, manuals, language |
| As-built drawings | CAD format, revision control, setting-out coordinates |
Queries about lead times, surfacing and splash pad tie-ins usually surface at this stage.
Frequently Asked Questions About Commercial Water Slide Projects
What is the typical lead time for a permanent water slide installation?
Allow 14–20 weeks from confirmed order to water-ready commissioning on a mid-size commercial unit. Design and engineering approvals typically take 3–5 weeks, fabrication 8–12 weeks, shipping 2–4 weeks, and site installation 2–3 weeks, depending on slide height and flume count. Peak-season orders placed between March and June can add 3–4 weeks to fabrication slots.
What surfacing is required around a commercial water slide?
Use a slip-resistant, drained surface within the splash zone — poured-in-place rubber at 8–12 mm thickness, or textured concrete with a fall-height rating matched to the slide’s exit platform height. The runoff apron should extend 2–3 m beyond the flume exit and fall at 1–2% away from the structure. Wet-area surfacing must also meet the same fall-height standard as the dry play zone it adjoins.
How does a water slide integrate with an existing playground or splash pad?
Treat integration as a three-step sequence: survey existing drainage and water supply, confirm playground age zone layout so the wet element sits outside toddler zones, then tie the slide’s recirculation loop into the splash pad manifold or a dedicated pump skid. Keep a 1.5–2 m circulation path clear for supervision sightlines. Record the final connection points in the playground closeout documents for future maintenance.